
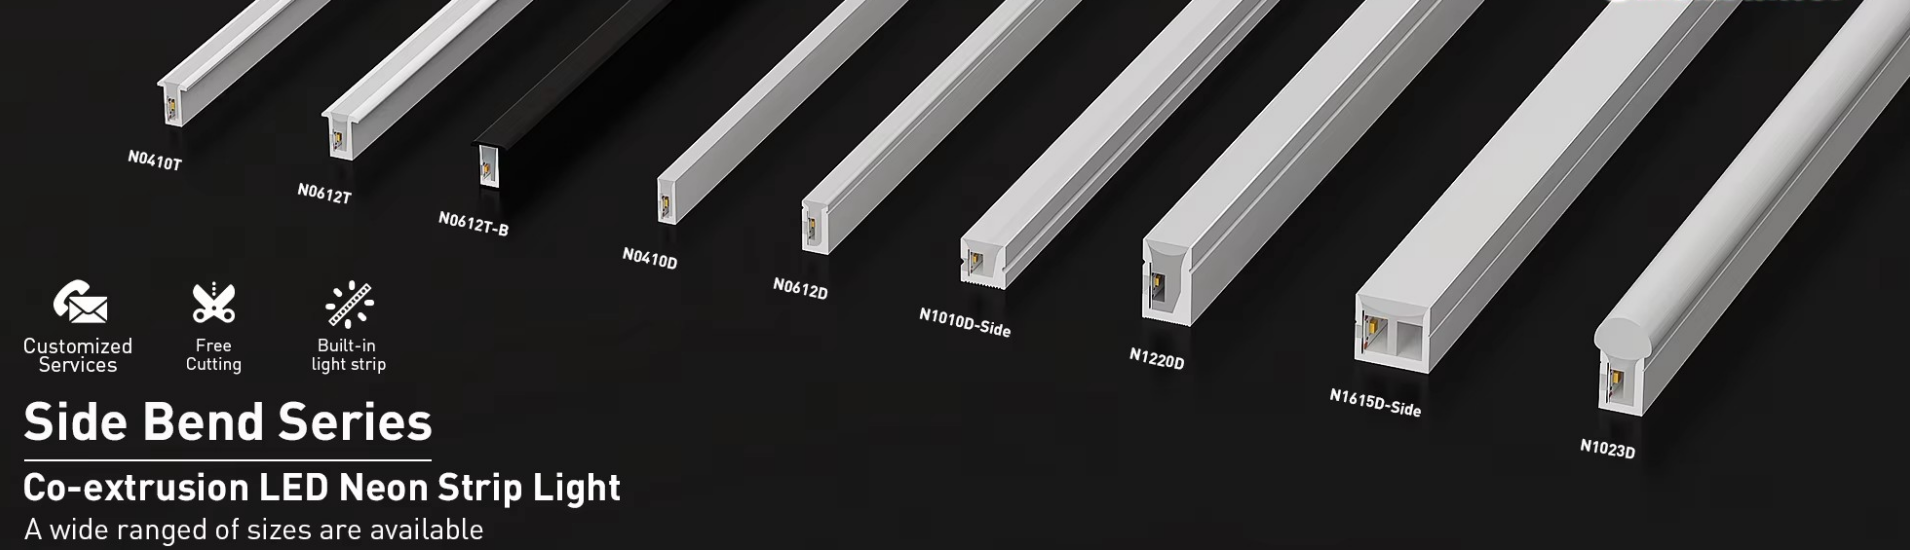
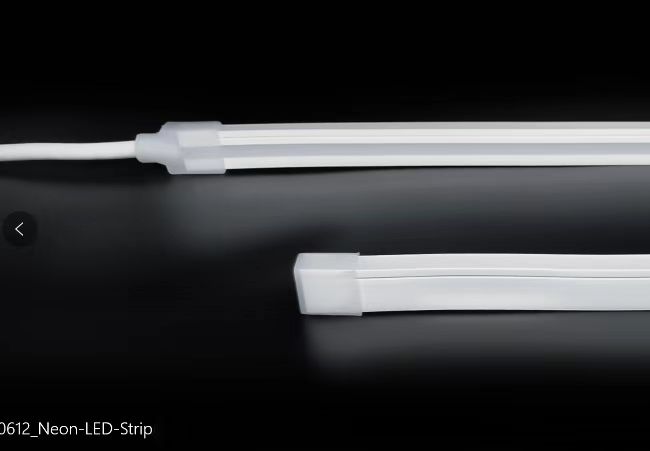


Neon Rope LED Lights Details
- Pure Silicone 100% coated
- SMD/ COB LED strip inside
- CE/RoHS certified
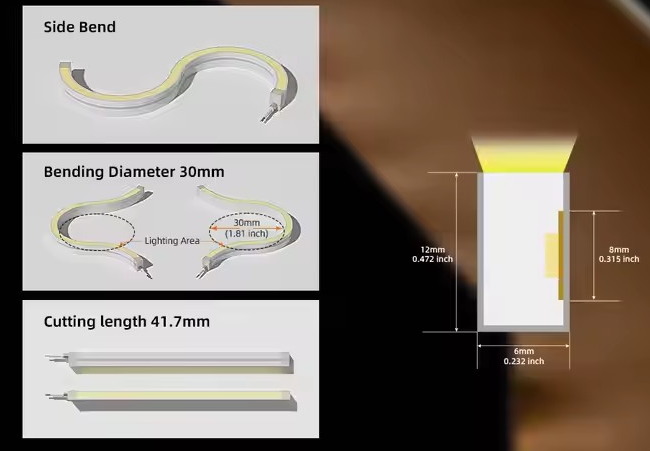
- Standard 6*12mm dimension LED neon lights strip
- 2200k-6500k color temperature available
- 100lumen /w, 7w-12w per meter
- 12v/24v availabe
- Bending Diameter 30mm
- Cutting length 41.7mm
- Aluminum profiles, and other mounting clips for LED strip lights available
- Suitable for living rooms and bedrooms: Neon light strips can be installed on the ceiling, walls, on the handrails of stairs

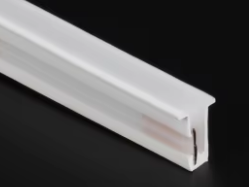
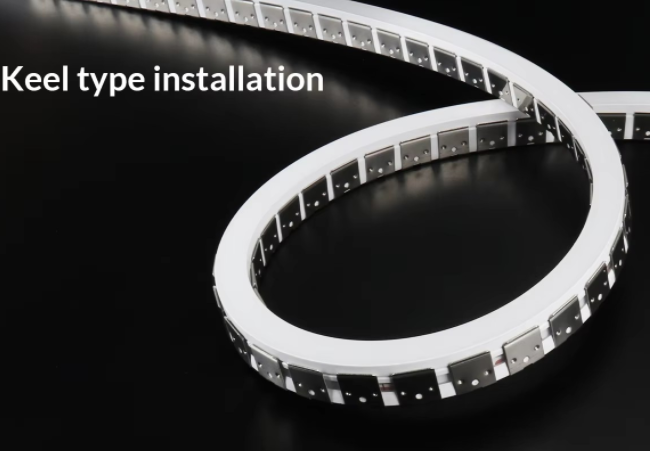
Neon Rope LED Lights Installation
Place the neon light strip inside the flexible profile. The flexible profile can adapt to different bending requirements, facilitating the shaping of the neon rope LED lights. Or embed the flexible profile with the neon light strip into the aluminium channel. The aluminium channel serves to protect and fix the light strip.
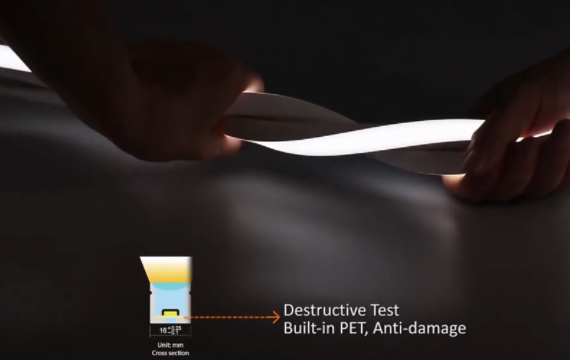
High Quality Neon Flex LED Strip
Our neon light strip is with a built – in PET layer. During the Destructive Test, it demonstrates anti – damage properties. This indicates that due to the built – in PET material, the neon light strip has certain resistance when subjected to external forces like pulling and other forms of damage. It can reduce the risk of damage and enhance the product’s durability.

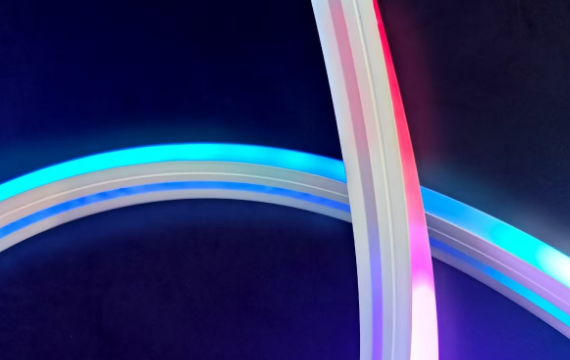
Multi Color Neon LED Strip
We provide various LED neon lights for rooms, 2200k, 2400k, 2700k, 3000k, 3500k, 4000k, 5000k, 6000k, 6500k, and dimmable neon LED strip. It’s flexible silicone LED diffuser, glowing uniform and spotless light. The cuttable LED neon strip is suitable as IP67 LED strip.
RGB Neon Strip
The RGBIC LED strip is inserted with 16703 IC, which means it supports breakpoint resume function. Besides the RGB neon flex, you need to purchase separately SPI LED controller to be compatible with LED neon flex RGB. It also works with APP, Bluetooth, WIFI, and remote control.
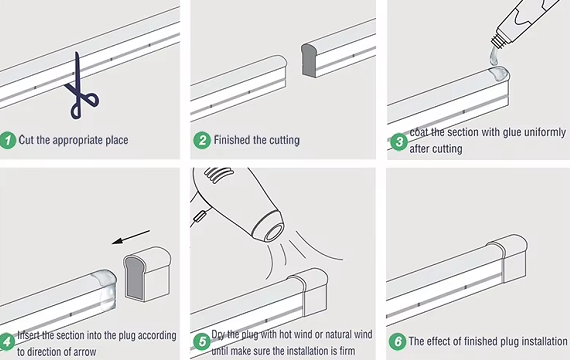
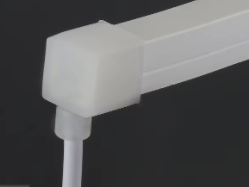
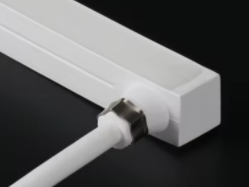
Cuttable LED Neon Strip
Here are the steps when cut the neon flex LED strip:
1. Find the cutting line on the neon rope LED lights.
2. Evenly apply glue to the cut end of the light strip.
3. Match well with the end caps
4. Use hot air (or natural air) to dry the installation area until it is firmly installed.